 EN

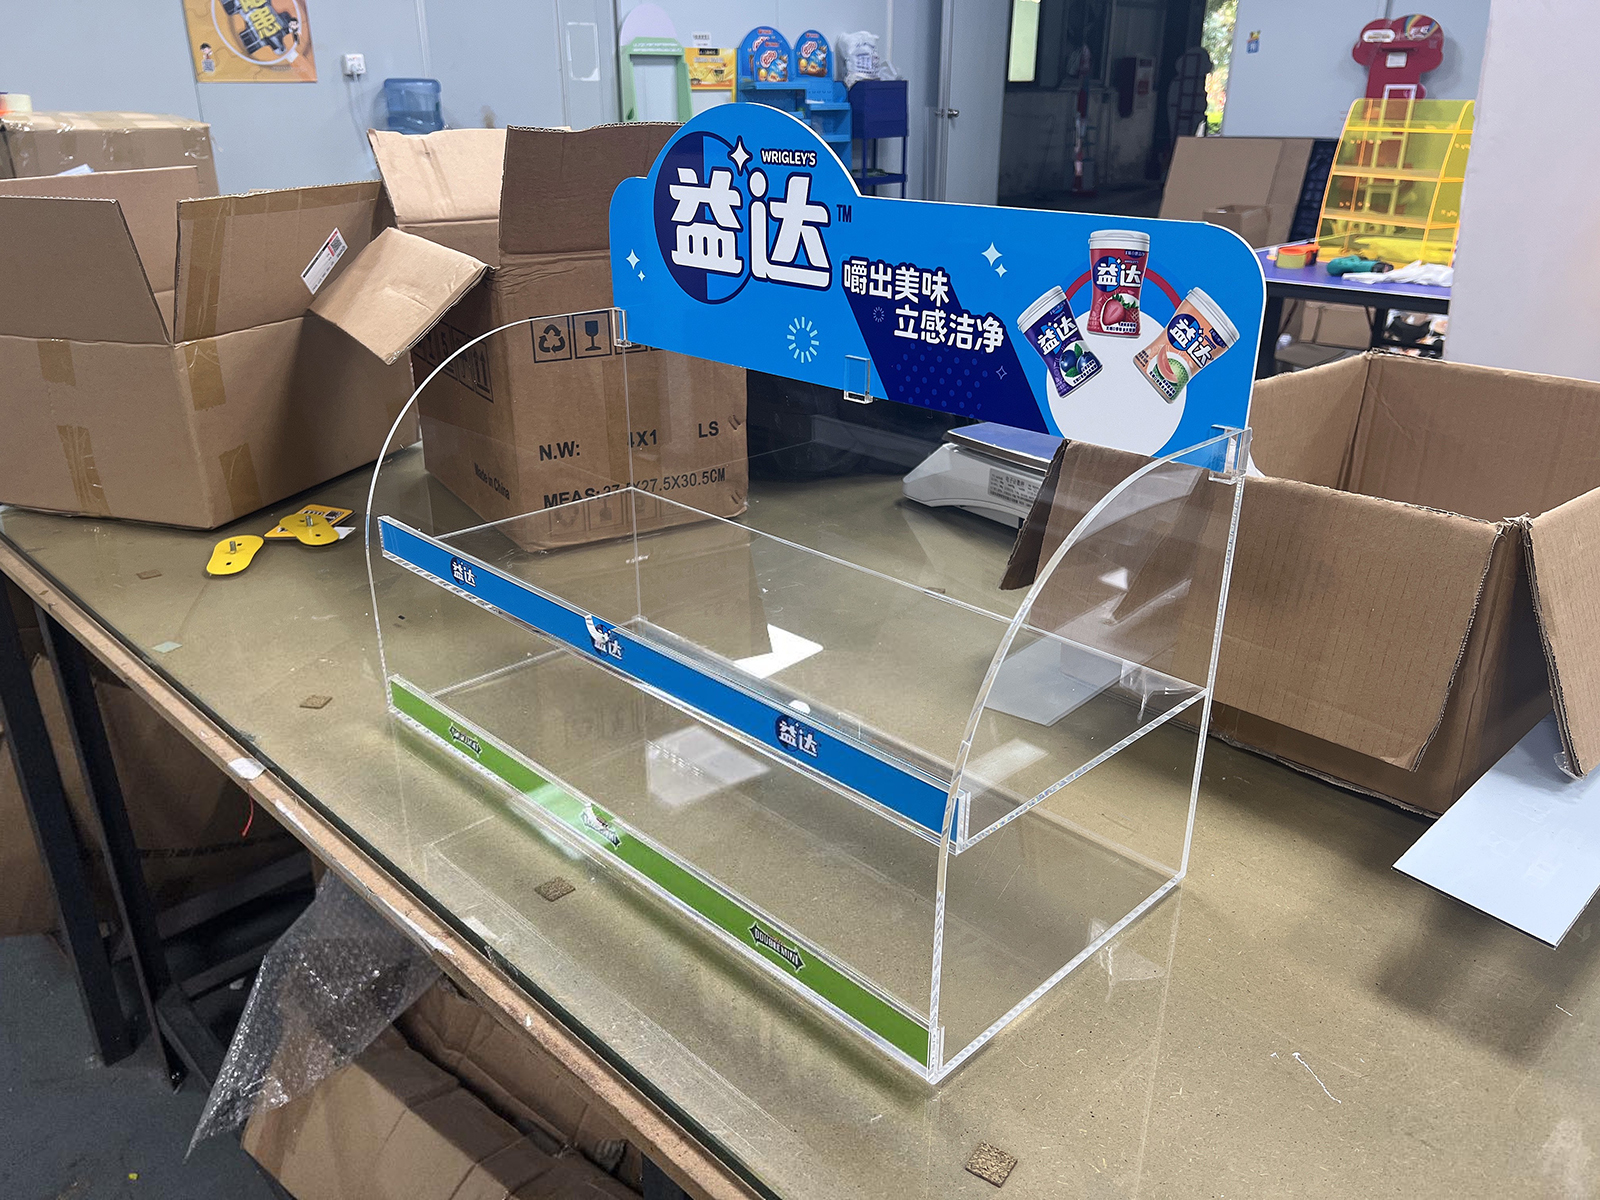
Moving from a 3D concept to displays installed across many stores requires more than a polished design. The custom pop display manufacturing process links commercial goals, engineering decisions, physical validation, and production controls so that the approved concept can be repeated reliably. Each stage resolves a different risk before it affects cost, schedule, or in-store execution.

The five stages are requirements definition, digital engineering, prototype validation, production preparation, and controlled rollout. Treating them as connected decision gates helps teams catch problems while changes are still manageable. Early 3D retail rendering clarifies appearance and placement, while engineering reviews establish whether the display can be built, packed, shipped, and assembled as intended.
Stage One: Translate the Retail Brief into Requirements
Set measurable project boundaries
Begin with the store environment and the job the display must perform. Record the available footprint, shelf or floor location, product dimensions, loading expectations, replenishment method, branding rules, and target delivery window. This brief gives display structural design a real operating context and prevents attractive but impractical concepts from advancing. Include who approves artwork, engineering, samples, and final production so decisions do not stall between departments.
Clarify how shoppers and store staff will interact with the unit. A display that needs frequent restocking should provide clear access, while a compact counter unit must preserve usable selling space. At this stage, POP fixture prototyping is not yet the goal; the team is defining the questions a prototype must answer. Record assumptions separately from confirmed requirements, including expected product variation and store-specific constraints.
Convert the brief into a design basis
A useful design basis connects each requirement to a decision or test. 3D retail rendering can show scale, sightlines, and brand placement in a representative setting, but it does not prove that the structure will carry its intended load. Pair visual review with display structural design criteria such as joints, support points, material thickness, and assembly sequence. Clear criteria make later approval more objective and keep revisions focused.
Stage Two: Engineer and Validate the Concept
Develop a coordinated digital model
With the brief agreed, designers develop geometry around real products, manufacturing methods, and store conditions. The custom pop display manufacturing process benefits when merchandising, graphics, and mechanical details are reviewed together rather than in separate files. 3D retail rendering communicates proportions and finish, while display structural design resolves interfaces, stability, access, and component connections. The model should identify parts and dimensions clearly enough to support review and subsequent fabrication.
Review assembly in the model, not just the finished front view. Check whether panels can be joined in sequence, whether fasteners remain accessible, and whether the packed components can move through the planned handling route. POP fixture prototyping can test uncertain details, but better digital coordination reduces avoidable sample changes. Use 3D retail rendering to align stakeholders on appearance, and keep display structural design tied to the actual load path and assembly requirements.
Build a sample that tests the risks
A physical sample should answer specific questions, not simply reproduce a picture. POP fixture prototyping can examine fit, assembly time, product access, stability, print placement, and the feel of materials under realistic handling. Compare the sample with the approved display structural design and document deviations rather than relying on memory. If a revision changes dimensions or graphics, update the controlled files and 3D retail rendering so every reviewer sees the same version.
Stage Three: Prepare Production and Manage Rollout
Lock the approved design for repeatability
After sample approval, convert the design into production-ready specifications. Confirm materials, finishes, hardware, print files, tolerances, part identification, packing method, and inspection points. The custom pop display manufacturing process needs a clear revision status so an old drawing cannot be mistaken for the released one. Display structural design should reflect the validated sample, while 3D retail rendering remains a useful reference for the intended final appearance.
Production preparation also checks whether parts can be made and assembled consistently across the planned quantity. A successful POP fixture prototyping round does not automatically establish repeatability; confirm that the approved construction can be followed with the intended tools and process. Use display structural design notes to clarify critical interfaces and 3D retail rendering to support visual checks. Resolve substitutions through formal review, because unapproved changes can affect fit, appearance, or store setup.
Coordinate shipment, installation, and feedback
Plan rollout around packaging, delivery destinations, store labor, and the sequence for placing product. The custom pop display manufacturing process is not complete when units leave production; shipment damage, missing parts, or unclear assembly instructions can undermine a sound design. POP fixture prototyping can inform pack-out and setup instructions, while display structural design guides checks after assembly. Use 3D retail rendering to show the intended placement and orientation to installation teams.
For a phased launch, gather feedback from initial locations before releasing later quantities where the schedule permits. Capture assembly questions, damage patterns, product fit issues, and differences between planned and actual store conditions. Compare observations with the approved sample and specifications, then decide whether the issue needs an instruction update or an engineered revision. This measured feedback loop helps the rollout stay consistent without treating every local variation as a reason to redesign.
FAQ
How long should the five stages take?
Timing depends on design complexity, review availability, materials, and the number of sample revisions. Agreeing requirements early supports 3D retail rendering and display structural design reviews without repeated clarification. POP fixture prototyping should be scheduled around the questions it must resolve, and the custom pop display manufacturing process should reserve time for approval and production preparation rather than treating them as automatic steps.
What should a prototype prove before approval?
It should verify the risks identified in the brief, including fit, access, assembly, stability, finish, and pack-out when relevant. POP fixture prototyping is most useful when each observation links to an acceptance decision. Check the sample against display structural design, review its appearance with 3D retail rendering, and record approved changes in the custom pop display manufacturing process so the released specification matches the validated unit.
Can a rollout proceed without a physical sample?
That depends on risk, complexity, and how much prior evidence exists; a visual model alone cannot confirm every physical behavior. 3D retail rendering helps stakeholders review layout, but POP fixture prototyping can expose assembly or handling concerns that are difficult to judge on screen. Display structural design must still be checked against the real application. If a sample is omitted, document the rationale, verify critical dimensions and interfaces, and add appropriate production inspection. Keep the custom pop display manufacturing process controlled, and use 3D retail rendering, POP fixture prototyping, and display structural design reviews wherever they address unresolved risks.